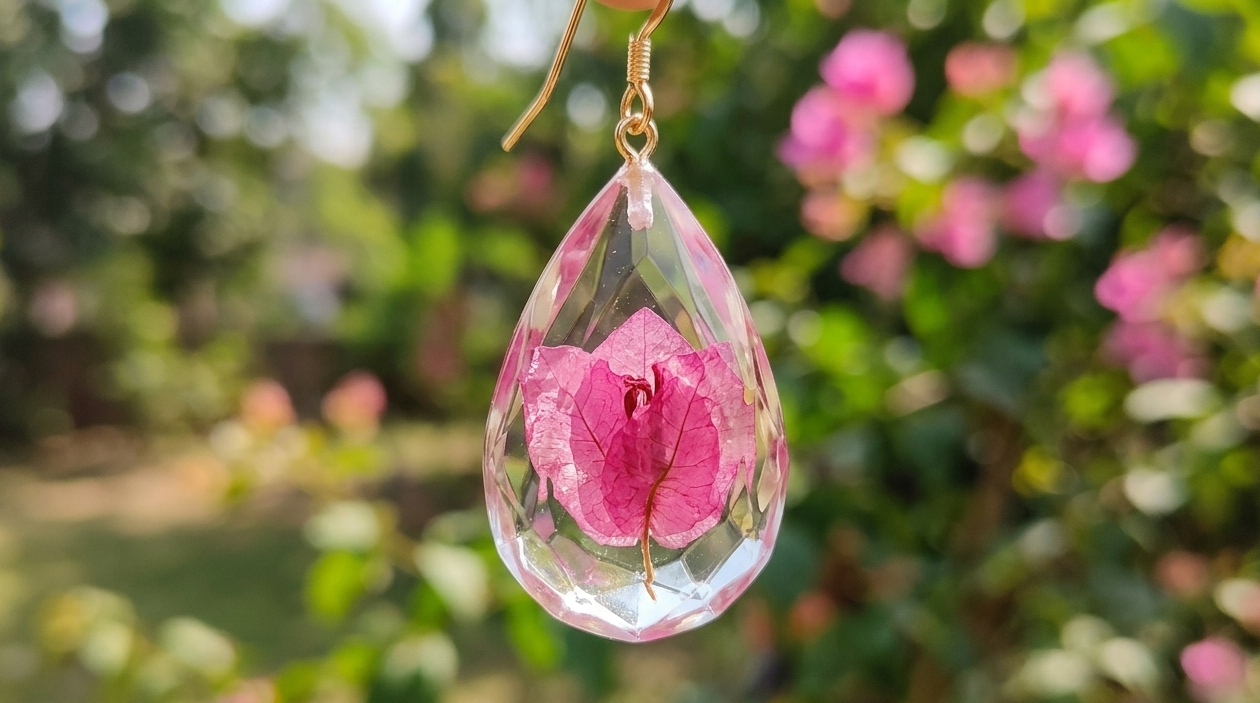
There is a unique magic in botanical jewelry. Unlike traditional gemstones, resin flower earrings capture the delicate, organic soul of nature and freeze it in a crystal-clear prism. In India, where vibrant flora like Bougainvillea, Hibiscus, and Jasmine are part of our daily landscape, the art of floral preservation has moved from the pages of heavy books into the world of high-end fashion.
But making professional-grade handmade resin earrings isn’t as simple as dropping a petal into a mold. It is a balance of patience, chemistry, and artistic vision. Whether you are a hobbyist looking to create your first pair or an entrepreneur building a brand, this guide will walk you through the journey of creating stunning, gallery-quality resin art earrings.
DIY Resin Flower Earrings: A Step-by-Step Guide
1. The Foundation: Why Flowers and Resin are a Match
The trend of resin earrings in India has exploded because resin offers something glass cannot: it is lightweight, shatter-resistant, and can be molded into infinite shapes. When you pair this with real botanicals, you create a “wearable garden.”
However, the “stunning” factor comes from clarity. If the resin is cloudy or the flower looks “cooked,” the magic is lost. To succeed, you must respect the science of epoxy resin earrings.
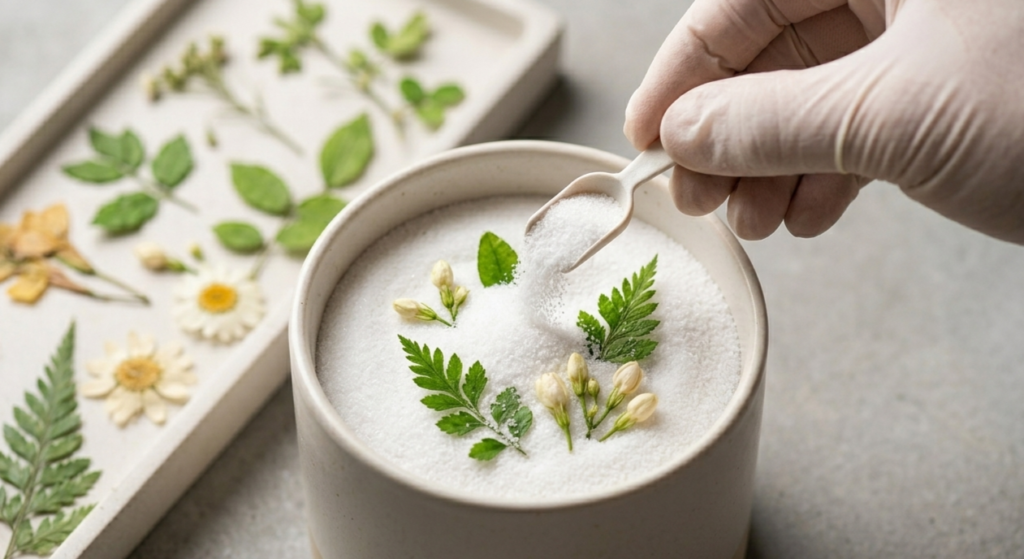
2. Step One: The Art of Floral Preservation
You cannot use fresh flowers in resin. Fresh flowers contain water, and water is the enemy of epoxy. If you pour resin over a fresh petal, it will rot, turn brown, and create a “halo” of bubbles within days.
The Silica Sand Method
To keep your flowers looking “fresh-picked,” you must use silica gel.
- Place your flowers in a container and gently cover them with silica sand.
- Wait 3–7 days (depending on the thickness of the bloom).
- The result: A flower that maintains its 3D shape and vibrant color, ready for its eternal home in resin.
3. Choosing Your Medium: The Right Resin for the Job
This is where many beginners fail. Using the wrong resin for jewelry leads to bubbles, yellowing, or pieces that stay “bendy.” Based on your design goals, here is how to choose:
- For Delicate, Flat Studs: Use Artist Resin 3:1. Its 10mm layer limit is perfect for small jewelry, and the 90-minute work time gives you plenty of room to arrange tiny petals with tweezers.
- For Chunky, 3D Drops: If you are encapsulating a whole rosebud, you need Crystal Casting 2:1. It has a lower viscosity (it’s thinner), which allows it to seep into the tiny crevices of a flower without trapping air.
- For the Final Mirror Shine: Always finish your earrings with a “doming” layer of Artist Resin 2:1. This creates that high-end, curved surface that catches the light.
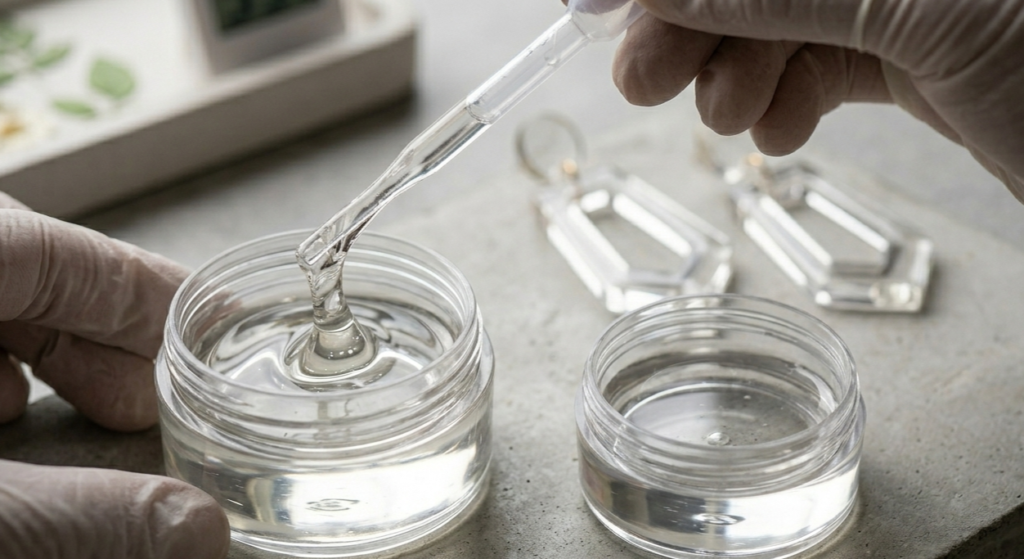
4. The Pouring Process: A Step-by-Step Guide
To create stunning resin flower earrings, follow this professional workflow:
Phase 1: The Base Layer
Pour a thin layer (2-3mm) of resin into your mold. This acts as the “seat” for your flower. Let it sit for about 30–40 minutes until it reaches a “honey-like” consistency. This prevents the flower from sinking straight to the bottom or floating awkwardly to the top.
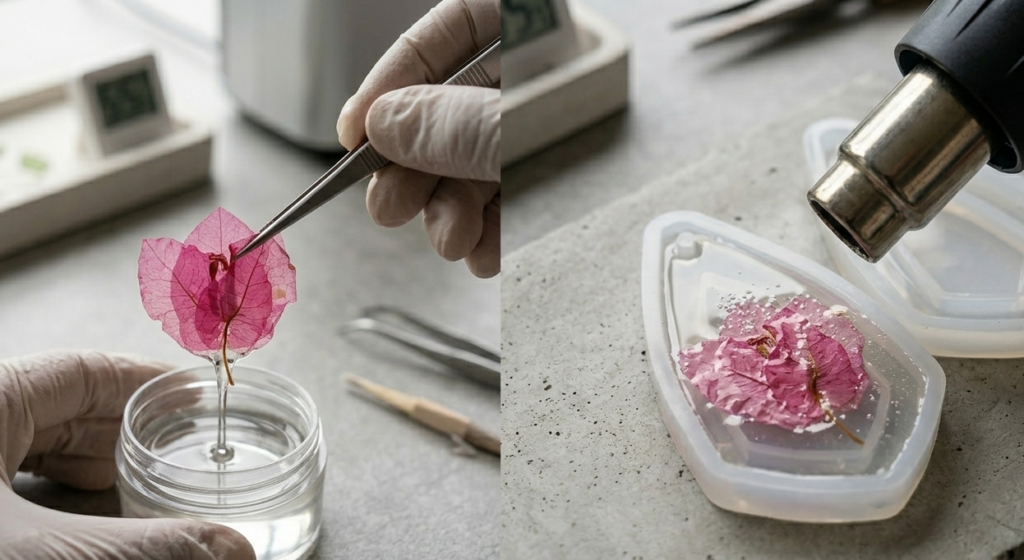
Phase 2: Placing the Blooms
Use fine tweezers to place your dried botanicals.
- Pro Tip: Dip the flower into your resin mixing cup before placing it in the mold. This “pre-coating” ensures that no air is trapped inside the petals, which is the secret to bubble-free resin art earrings.
Phase 3: The Main Pour
Slowly fill the rest of the mold. If you see tiny bubbles, use a heat gun or a toothpick to gently coax them to the surface. Avoid over-torching, as too much heat can damage the delicate pigments in the flower.
5. Overcoming the “Indian Climate” Challenge

Working on epoxy resin earrings in India presents a unique challenge: Humidity. In coastal areas or during the monsoon, the air is thick with moisture. This can cause “Amine Blush”—a greasy, cloudy film on the surface of your jewelry.
- The Fix: Always work in a temperature-controlled room. If the humidity is above 60%, run a dehumidifier. Using a high-quality resin like Diamond Resin 3:1 can also help, as its 72-hour internal cure time ensures a rock-hard, moisture-resistant finish.
6. Design Inspirations: Elevating Your Brand
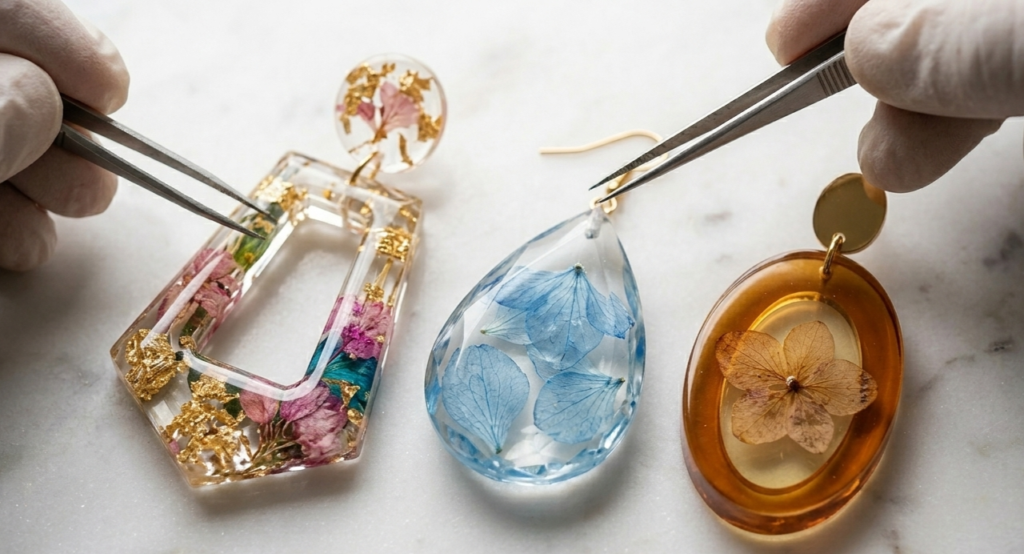
To make your handmade resin earrings truly “stunning,” you need to think beyond just a flower in a circle.
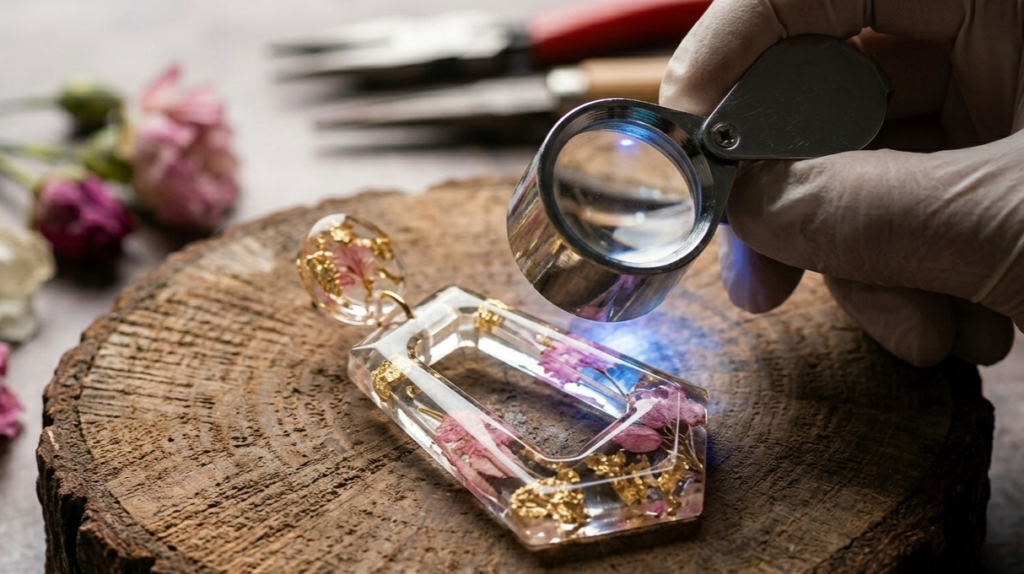
- The Gold Leaf Fusion: Add flakes of gold or silver leaf behind the flower. This adds a “royal” Indian aesthetic that glows under sunlight.
- The “Floating” Effect: Use ultra-clear resin and suspended petals to create the illusion that the flowers are frozen in mid-air.
- Color Blocking: Use a transparent pigment (like a soft amber or blue) in the back layer to give the flower a “moody” or “vintage” background.
7. Finishing and Polishing: The Mark of a Master
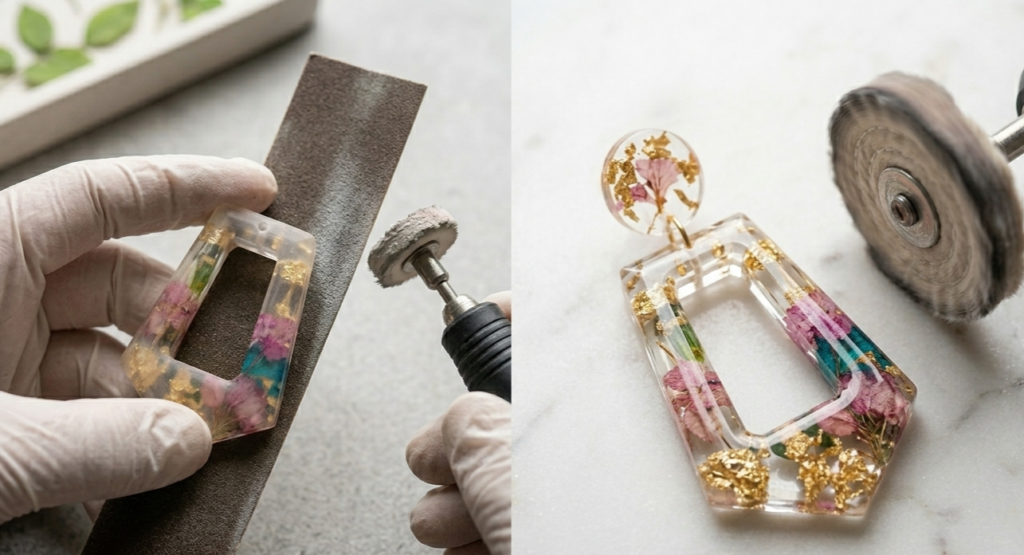
A “stunning” earring isn’t finished when it comes out of the mold. The difference between a “DIY project” and a “luxury product” is in the finishing.
- Sanding: Use high-grit wet/dry sandpaper (starting from 800 up to 3000) to smooth the edges.
- Polishing: Use a buffing compound to bring back the glass-like shine.
- Hardware: Use 18k gold-plated or sterling silver hooks. The most beautiful resin flower earrings lose their value if they are paired with cheap, irritating metals.
8. Caring for Your Wearable Art

Education is a huge part of being a professional artisan. Teach your customers how to care for their handmade resin earrings:
- Keep it Cool: Avoid leaving resin jewelry in a hot car; high temperatures can soften the resin.
- Store in the Dark: While quality resins have UV stabilizers, natural flowers are organic. Storing them in a dark box when not in use keeps the colors vibrant for years.
- No Chemicals: Perfumes and lotions contain alcohol that can “eat” the gloss off the resin surface.