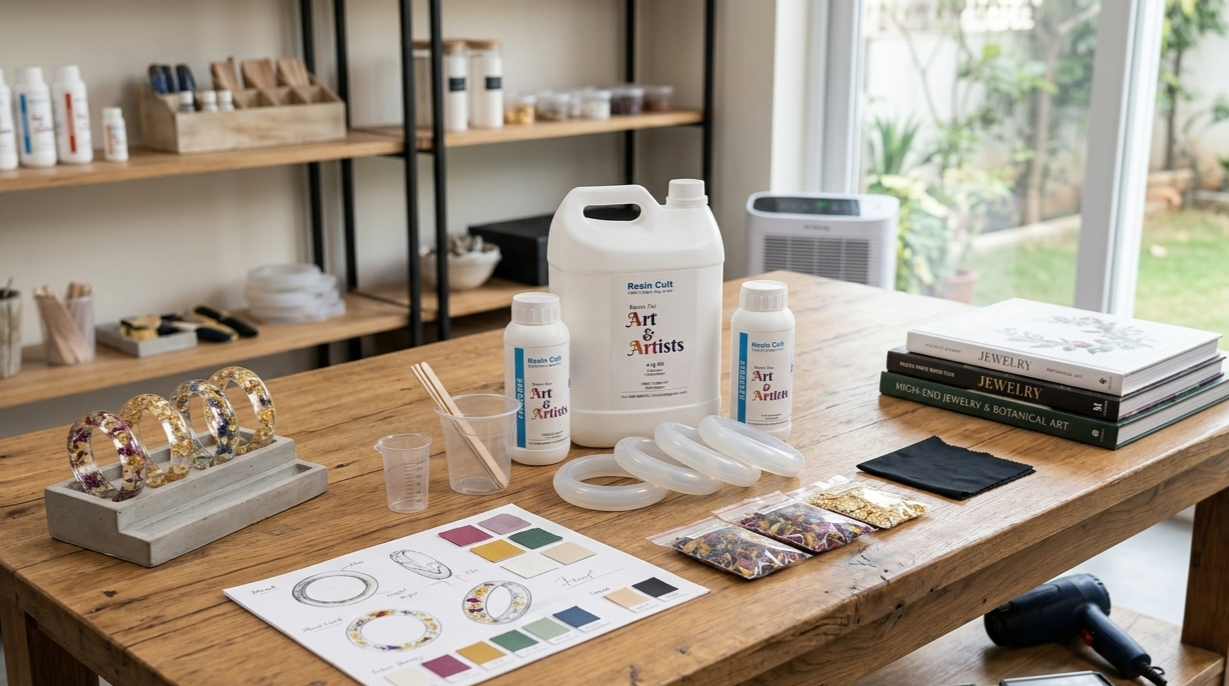
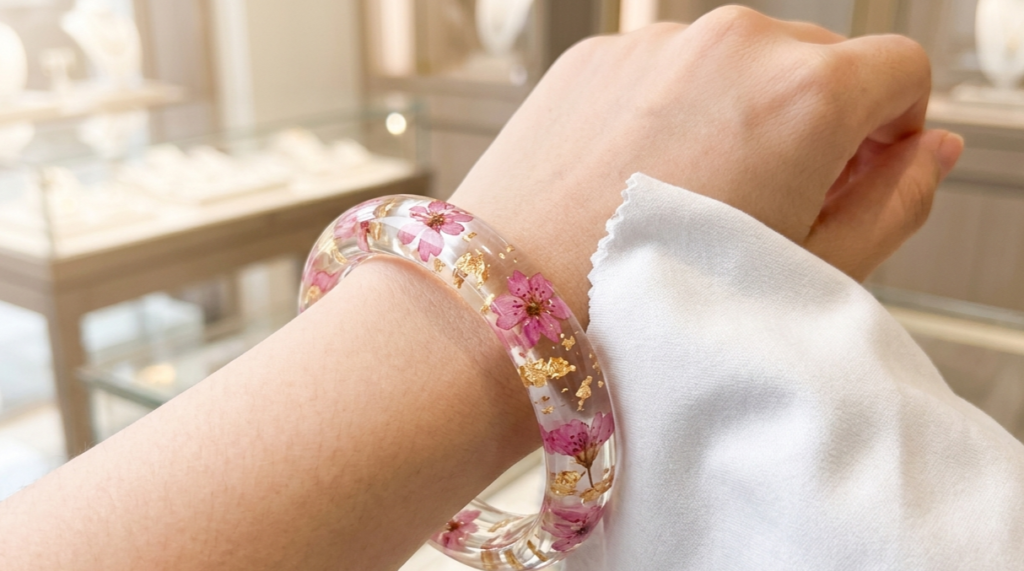
There is something deeply satisfying about wearing a piece of jewelry you made with your own hands. Resin bangles have become the breakout star of the 2026 fashion scene because they offer a level of customization that gold or silver simply can’t match. Imagine capturing a burst of wildflower petals or a swirl of celestial gold leaf inside a crystal-clear, weightless bracelet.
If you’ve been wondering how to make resin bangles that look like they belong in a high-end boutique rather than a craft fair, you are in the right place. This guide will walk you through the professional process of choosing your resin bangle mold, mastering the pour, and finishing your piece to a mirror shine.
Here are the steps to create an attractive resin bangle:
1. Preparing Your Creative Workspace
Before you mix your first drop of epoxy resin, you need a “Dry Zone.” In India, humidity is the biggest challenge for resin artists. High moisture in the air can lead to “Amine Blush”—a cloudy, sticky film on your finished resin art bangles. But there is no amine blush issue with resincult artist resin 2:1 , casting 2:1 , diamond resin 3:1 and geode resin 2:1
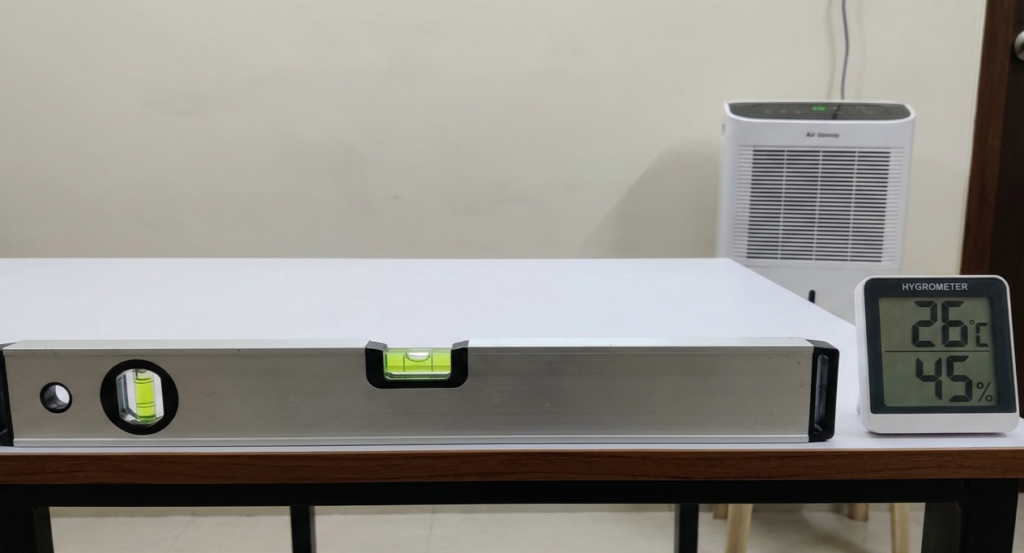
- The Level Surface: Resin is a liquid. If your table is even slightly tilted, your bangle will be thick on one side and thin on the other. Always use a spirit level.
- Temperature Control: Resin cures best between 24°C and 30°C. If your room is too cold, the resin will trap bubbles; if it’s too hot, it might flash-cure and crack.
2. Selecting the Right Tools and Materials
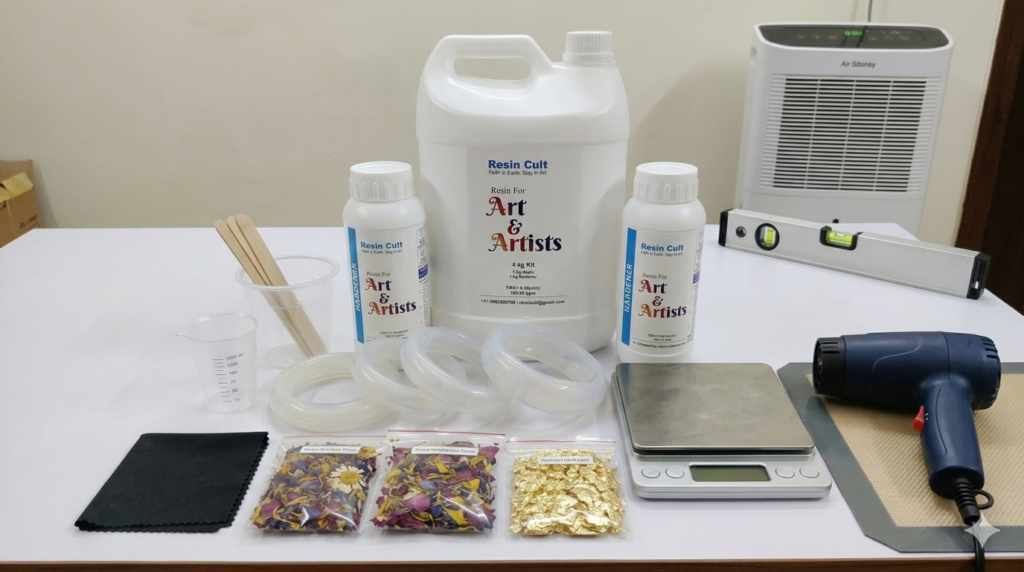
Your results are only as good as your ingredients. To create professional resin bangle bracelets, you need a dedicated resin bangle making kit or, at the very least, jewelry-grade components.
- The Resin Ratio: For bangles we prefer casting resin like artist resin 3:1 , diamond resin and casting 2:1 as it is low viscosity and gives clear result in closed moulds
- The Mold Matters: When choosing a bangle mold for epoxy resin, look for high-grade silicone. A good mold should have a smooth interior finish; if the mold is matte, your bangle will come out matte.
3. The Step-by-Step Crafting Process
Let’s get into the actual creation. This is where the magic happens.
- Step 1: Measuring and Mixing: Accuracy is the difference between a rock-hard bangle and a “bendy” one. Use a digital scale or graduated cups. Mix slowly for 3 full minutes, scraping the sides and bottom of the cup. If the mixture looks “streaky,” it isn’t ready.
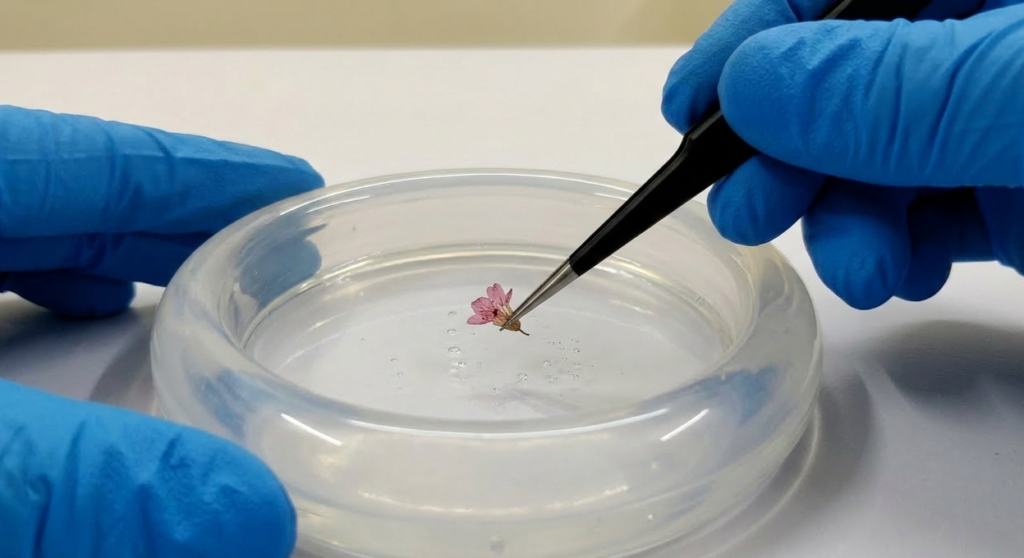
- Step 2: The “First Pour” and Design: If you are making a resin flower bangle, don’t fill the mold all at once. Pour a 2mm base layer first. This prevents your flowers from sinking to the very bottom (which will be the front of the bangle).
- Step 3: Managing the Flowers: Wait about 40 minutes for that base layer to become “tacky.” Use tweezers to place your silica-dried flowers. (Pro Tip: Dip the flower into your resin cup before placing it in the mold. This “pre-coating” removes air trapped in the petals and prevents bubbles.)
- Step 4: The Final Fill: Slowly pour the remaining resin over your design. Use a tooth-pick to move petals into place and a quick pass of a heat gun to pop any surface bubbles.
4. Troubleshooting Common “Bangle Fails”
Even with the best resin bangle ideas, things can go wrong. Here is how to fix the most common issues:
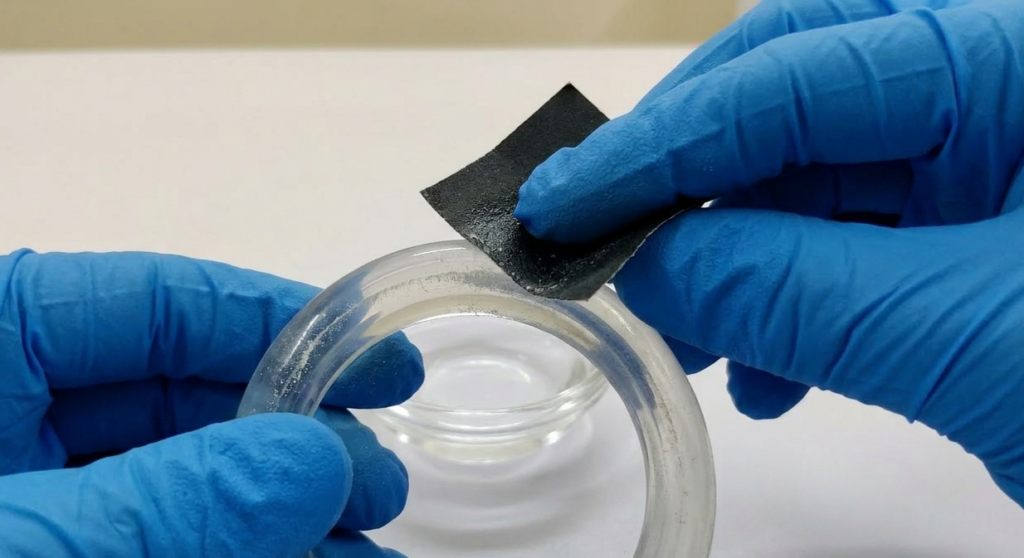
- Sharp Edges: All bangles come out with a sharp “lip” at the top. Don’t leave it! Use wet-sanding (starting at 400 grit and moving to 3000 grit) to smooth it out.
- Sticky Resin: This usually happens if the mixing wasn’t thorough. If it’s just a small spot, you can often save it by “doming” it with a thin layer of UV resin and curing it under a lamp.
- Cloudy Resin: This is almost always caused by humidity. If you’re working in a humid climate, a dehumidifier is your best friend. But resin from resincult are formulated keep your work safe from humidity as the systems are humidity safe
5. Styling and Caring for Your Resin Art
Once your handmade resin bangles are cured (wait a full 72 hours!), they are incredibly durable. However, to keep them looking “stunning” for years:
- Avoid Chemicals: Put your bangles on after you’ve applied perfume and hairspray.
- Clean with Microfiber: A dry glasses-cleaning cloth is all you need to remove fingerprints and restore that mirror shine.
- Store in the Dark: While quality resins are UV-stabilized, natural flowers can still fade over time if left in direct 24/7 sunlight.
FAQs
Are resin bangles durable enough for daily wear?
Yes. High-quality epoxy resin bangles are incredibly durable and shatter-resistant. Unlike glass bangles, they won’t break if dropped. However, to maintain their glass-like shine, it is best to avoid wearing them while lifting heavy weights or using harsh cleaning chemicals.
Why did my resin bangle stay sticky or soft?
Sticky resin is almost always caused by an incorrect mixing ratio or incomplete mixing. Even a 1% error in a 3:1 casting resin can prevent a full cure. Ensure you scrape the sides of your cup while mixing for at least 3 minutes. If the room temperature is below 24°C, the curing process will also slow down significantly.
Can I use fresh flowers in my resin flower bangle?
No. You must use silica-dried flowers. Fresh flowers contain moisture that reacts with the resin, causing the petals to turn brown or rot inside the bangle over time. Dried flowers stay vibrant and beautiful forever once sealed.
How do I get rid of bubbles in my resin art bangles?
Bubbles are best managed by using a low-viscosity resin (which allows bubbles to escape easily) and a heat gun. After pouring into the bangle mold for epoxy resin, wait 5 minutes for bubbles to rise, then quickly pass a heat gun over the surface to pop them.