How To Preserve Flowers In Resin
Preserving flowers in resin is a beautiful way to turn fleeting moments into lasting keepsakes. It’s a popular technique that allows you to capture the charm of real blooms forever.
People use flowers in resin to make everything from custom jewelry and keychains to decorative coasters and wall art. It adds a natural, elegant touch to your DIY projects.
Whether you want to preserve a wedding flower or simply enjoy working with nature-inspired crafts, this guide will walk you through the entire process — from drying to casting — just like a professional.
Even if you’re new to crafting, you’ll learn how to preserve flowers in resin using simple tools and proven techniques. It’s easier than you think and incredibly rewarding.
By the end of this tutorial, you’ll be ready to create your own beautiful pieces with dried flowers in resin, making memories last a lifetime.
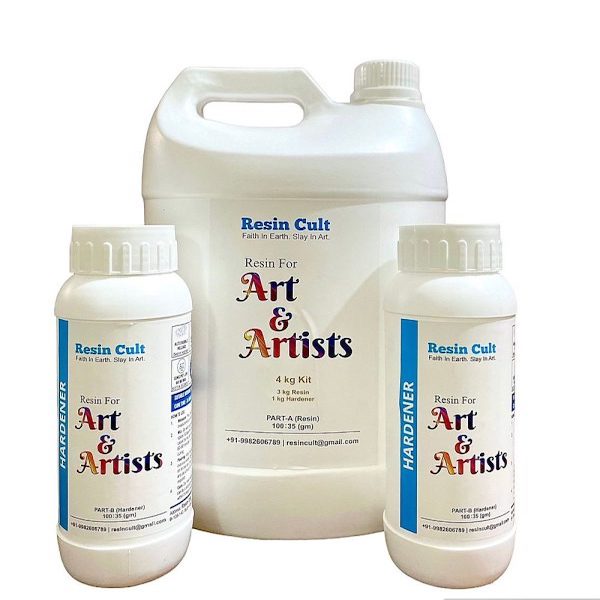
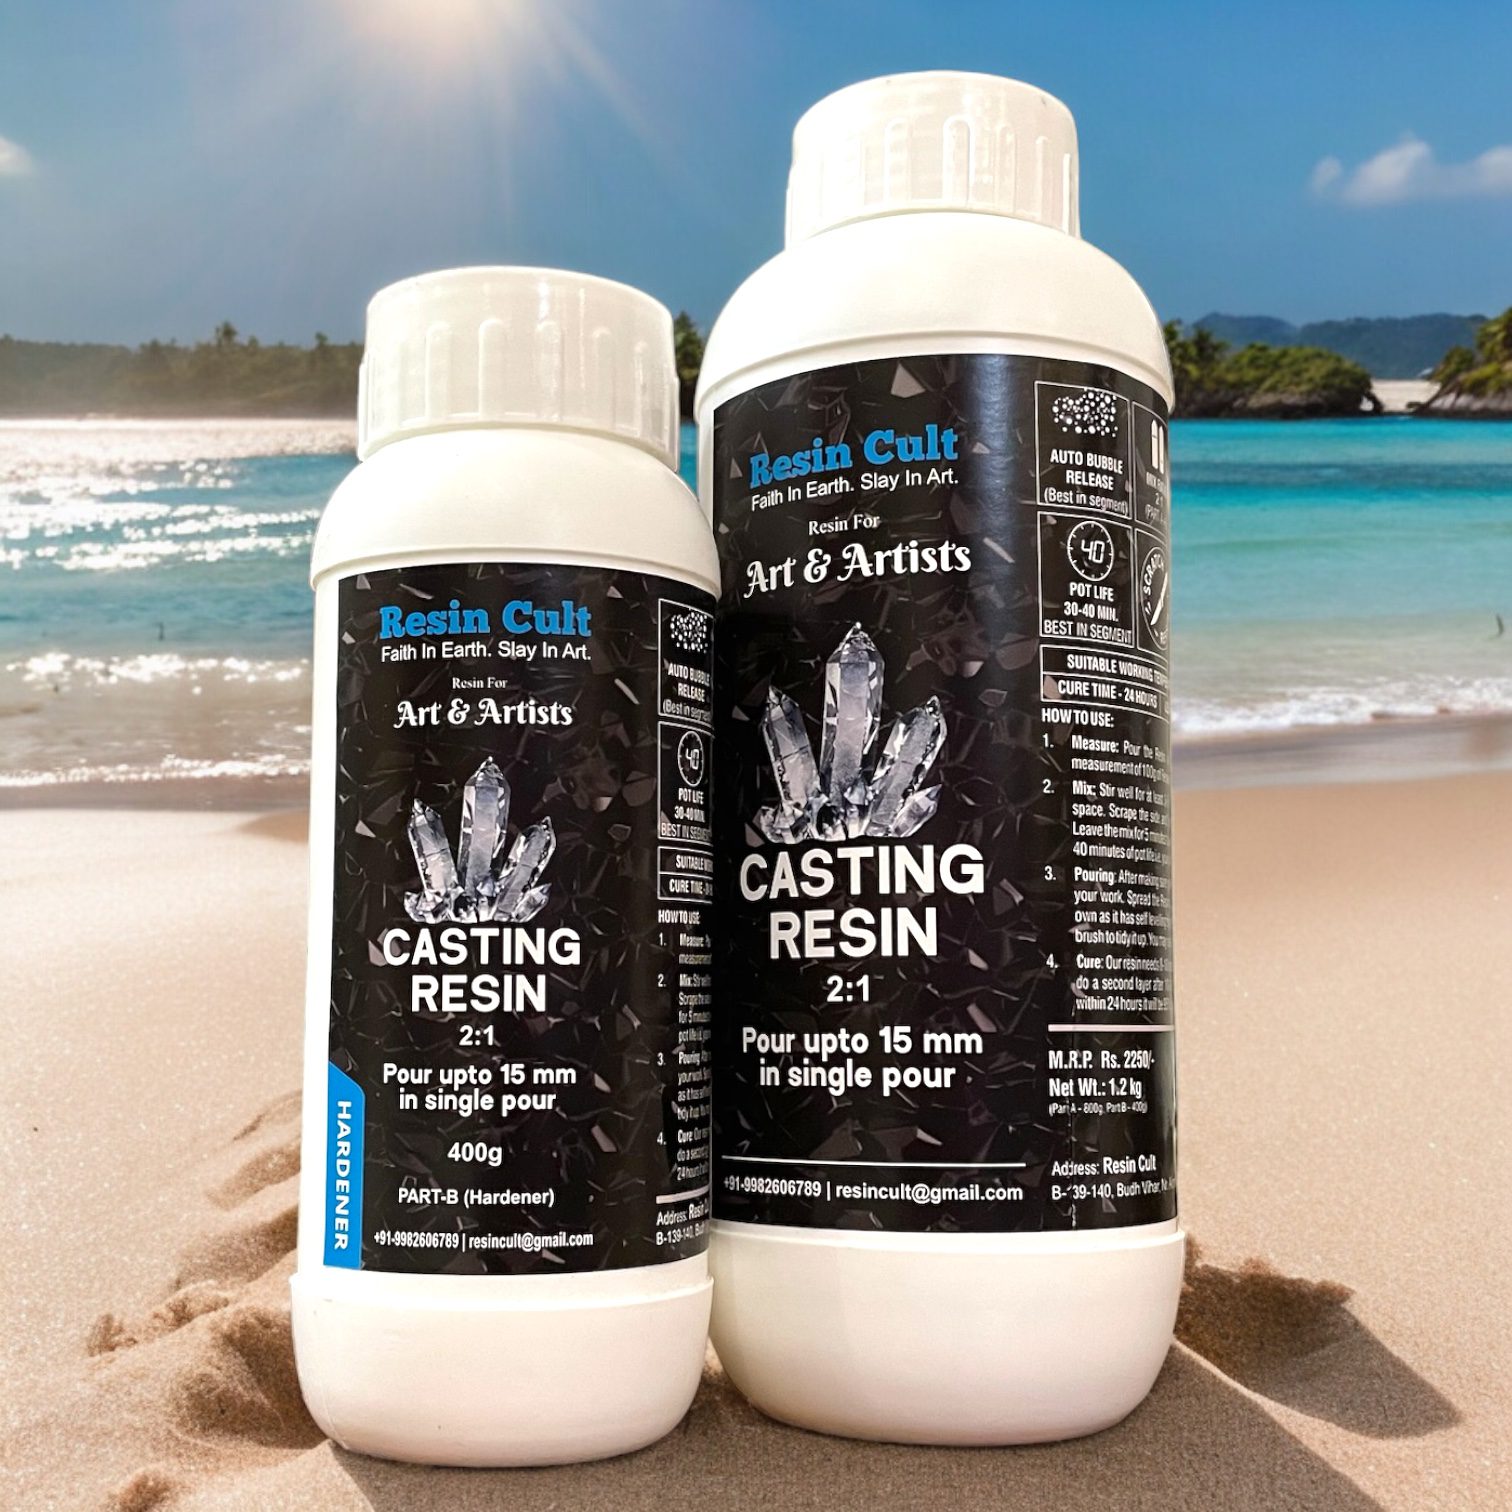
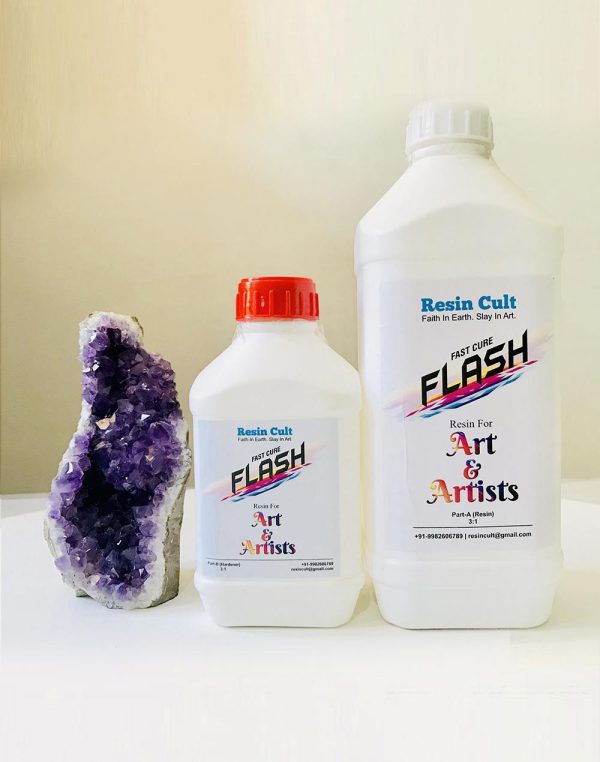
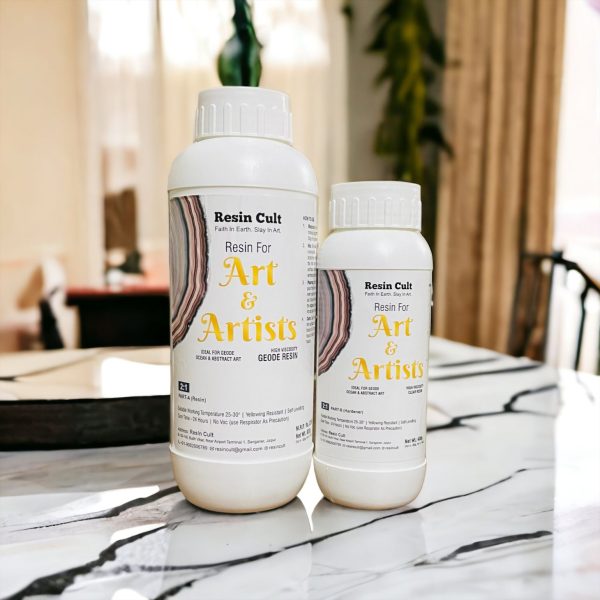
Best Resin For Flower Preservation


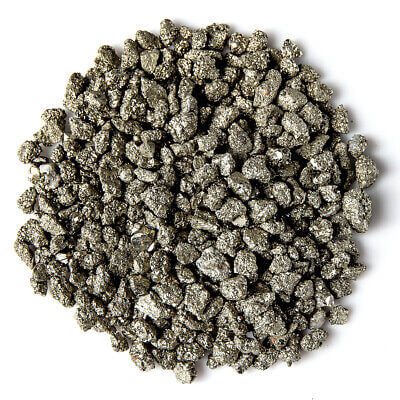
Material Needed For Flower Preservation

🌸 What is Resin Flower Preservation?
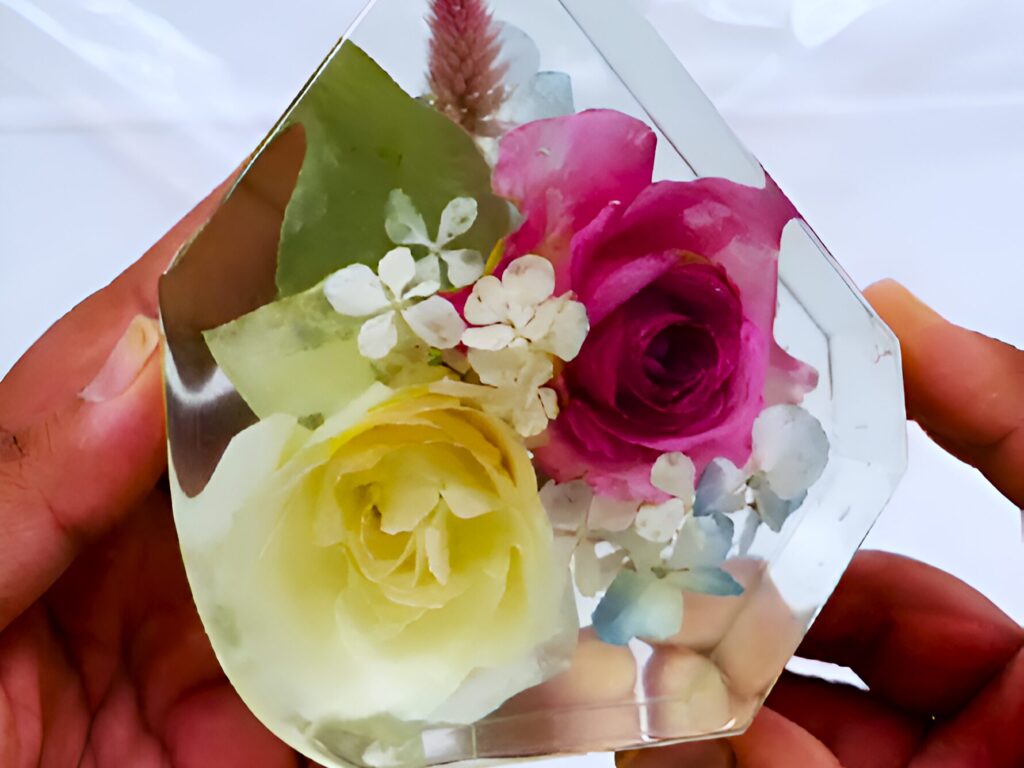
Resin flower preservation is the process of encasing dried flowers in clear resin to protect and showcase their beauty for years to come. It’s a popular method among DIY crafters, artists, and even florists looking to preserve memories in a modern, artistic way.
When you place dried flowers in resin, they’re sealed off from air and moisture, which prevents decay and discoloration. The result? Crystal-clear art pieces that hold real blooms in perfect condition — from romantic roses to wild daisies.
There are two main types of resin used in this craft:
- Epoxy Resin: Ideal for deeper molds and large projects like coasters or paperweights. It has a longer curing time, which gives you more flexibility when casting flowers in resin.
- UV Resin: Best for quick-drying, small-scale items like jewelry. It cures within minutes under a UV lamp but isn’t suited for thick molds.
So, why use resin for flower preservation?
✔️ It’s durable and long-lasting
✔️ Offers a glass-like, glossy finish
✔️ Keeps flowers safe from moisture, air, and UV damage
✔️ Suitable for endless creative projects
Whether you’re crafting for yourself or making meaningful gifts, preserving flowers in resin is the perfect way to blend nature and art into timeless keepsakes.
🧰 Materials You’ll Need
Before you begin preserving flowers in resin, make sure you have the right tools. Here’s a complete checklist to help you get started:
✅ Epoxy or UV Resin: Choose epoxy resin for deeper molds (coasters, blocks) and UV resin for small, fast-curing projects (jewelry, charms).
✅ Dried Flowers: Only use dried flowers in resin — moisture can ruin your final piece. You can dry them at home or buy pre-dried flower sets online.
✅ Mixing Cups & Stir Sticks: Use disposable plastic or silicone cups and wooden stir sticks for mixing resin and hardener evenly.
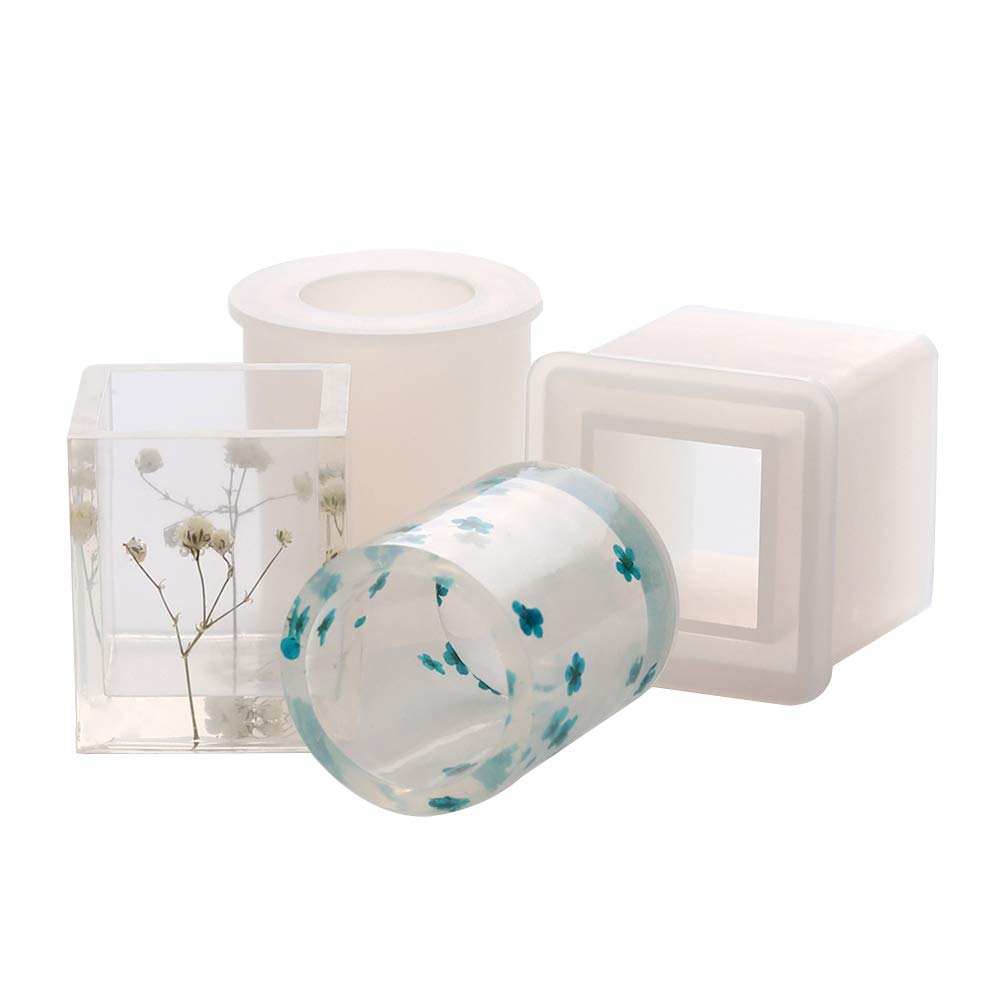
✅ Silicone Molds: Available in many shapes — round, square, heart, or even alphabet letters. Non-stick and reusable.
✅ Gloves & Apron: Resin can be messy and irritating to the skin. Wear gloves and protect your clothes.
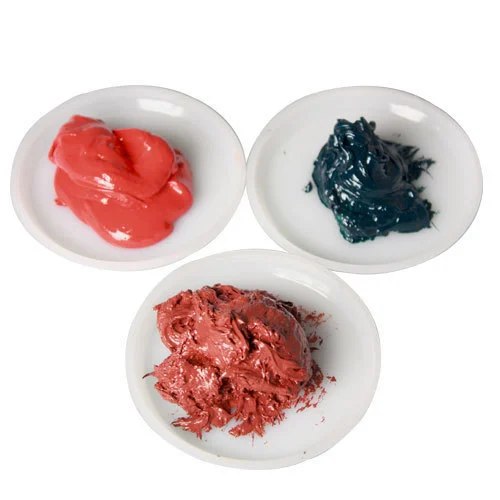
✅ Resin Pigments (Optional): Add color, shimmer, or effects to your design with mica powders or alcohol inks.
✅ Tweezers: Helps place delicate flowers into the resin precisely, without using your fingers.
✅ Sandpaper & Polish: Used after curing to smooth edges or remove imperfections. Follow with polish for a glossy finish.
💡 Pro Tip:
Always choose a high-quality, bubble-free resin that offers a crystal-clear finish. Look for products labeled “low VOC,” “non-yellowing,” or “UV-resistant” for best results.
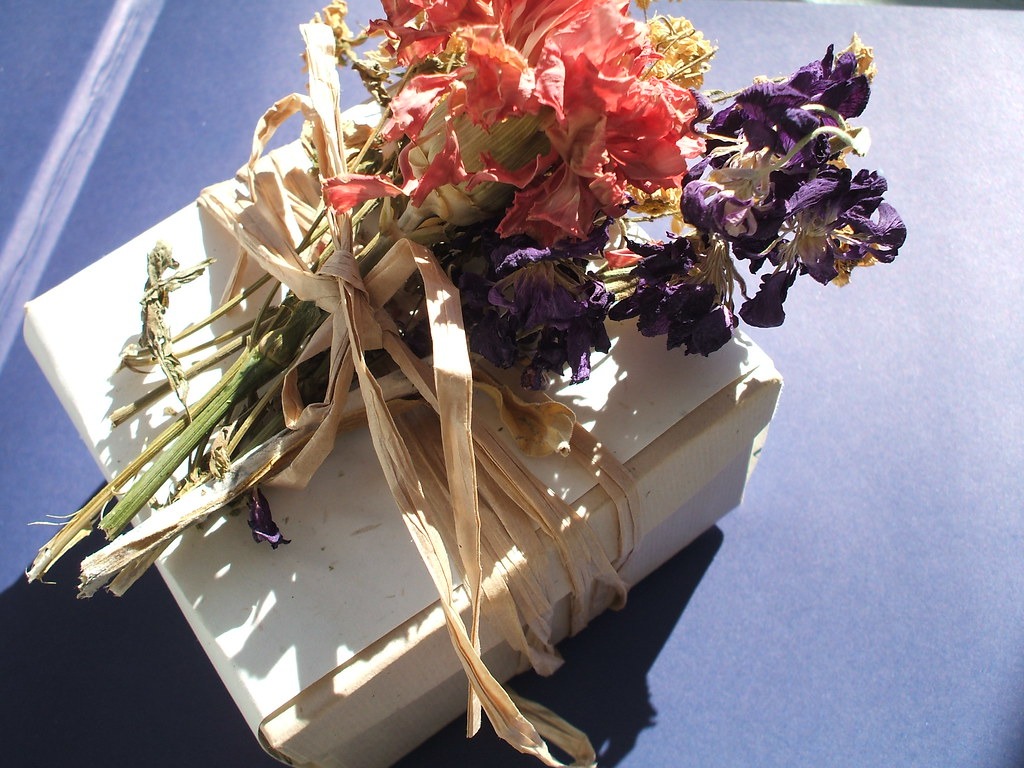
🌼 How to Dry Flowers Before Preserving
Before preserving flowers in resin, it’s critical to dry them properly. Any leftover moisture can cause decay, discoloration, or cloudiness inside the resin.
Here are three effective methods to dry flowers for resin:
1️⃣ Air Drying (Simple & Natural)
- Hang flowers upside down in a dry, dark space for 1–3 weeks.
- This method preserves shape fairly well but can cause color fading.
- Works best for hardy flowers like lavender or baby’s breath.
✅ Good for: Beginners and rustic-style projects
2️⃣ Pressing (Flat & Quick)
- Place flowers between parchment paper inside a heavy book.
- Let them press for 1–2 weeks.
- You can also use a flower press to speed things up.
✅ Good for: Jewelry, bookmarks, and flat resin crafts
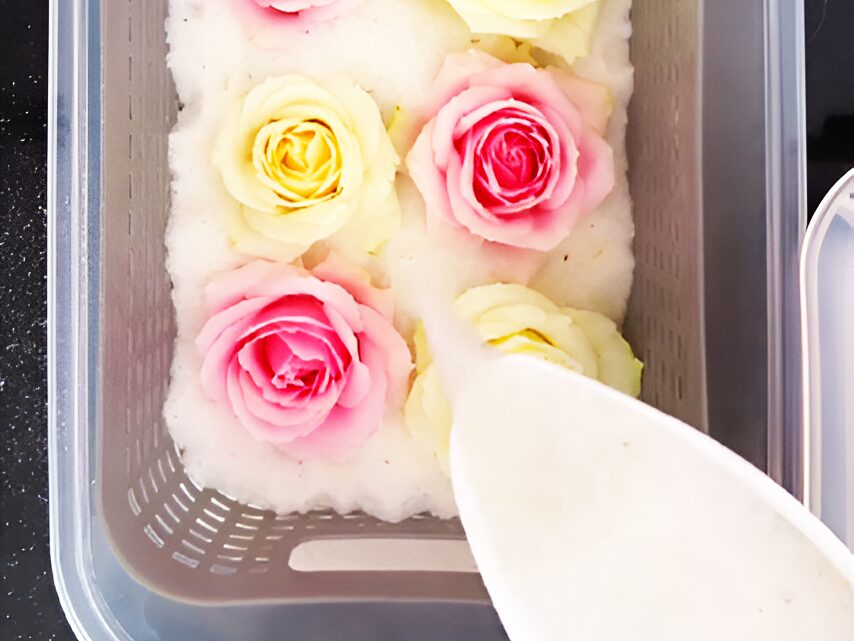
3️⃣ Silica Gel Drying (Most Professional)
- Bury fresh flowers in silica gel crystals inside an airtight container.
- Wait 2–7 days depending on flower thickness.
- This method keeps colors bright and petals well-shaped.
✅ Good for: High-end pieces with vibrant results
💡 Tip: Reuse silica gel and store it dry to prolong shelf life.
Why Drying Is Essential:
- Moisture causes mold and trapped air pockets.
- Wet flowers will cloud the resin and may rot inside over time.
- Proper drying = professional clarity and color preservation.
Now that your flowers are ready, let’s move on to casting flowers in resin like a pro!
🔍 Step-by-Step Guide to Preserving Flowers in Resin
✅ Step 1: Prepare Your Work Area
- Work in a well-ventilated, dust-free room.
- Cover the surface with parchment or silicone mats.
- Wear gloves and an apron to avoid sticky messes.
💡 Pro Tip: Keep paper towels and rubbing alcohol nearby for cleanup.
✅ Step 2: Mix the Resin Properly
- Follow your resin’s specific mixing ratio (usually 1:1 or 2:1).
- Stir slowly for 3–5 minutes to reduce bubbles.
- Use a double-cup method for best results.
💡 Pro Tip: Warm your resin bottles slightly in hot water before mixing — this helps reduce microbubbles.
✅ Step 3: Pour the First Layer
- Pour a thin base layer (2–3mm) into the silicone mold.
- Let it sit for 10–20 minutes to partially cure.
💡 Pro Tip: This creates a level surface for placing flowers and prevents them from sinking.
✅ Step 4: Place the Dried Flowers Carefully
- Use tweezers to arrange dried flowers in resin precisely.
- Face the “good side” of the flower down for best visual effect.
- Make sure there’s space between flowers to prevent overlap bubbles.
💡 Pro Tip: Pre-plan your design on paper before placing.
✅ Step 5: Add Final Resin Layers
- Slowly pour more resin over the flowers to cover them fully.
- Fill the mold just below the rim.
- Let it rest so bubbles rise to the surface.
💡 Pro Tip: Pour in layers if your mold is deep — don’t do it all at once.
✅ Step 6: Remove Bubbles
- Gently pass a heat gun or torch over the surface to pop air bubbles.
- Don’t overheat, or you risk scorching the resin or flowers.
💡 Pro Tip: Use a toothpick to pop stubborn bubbles near petals.
✅ Step 7: Let It Cure Fully
- Most epoxy resins take 24–72 hours to cure.
- Don’t move the mold during this time — keep it dust-free.
💡 Pro Tip: Cover molds with a box or container to keep out debris.
✅ Step 8: Finish the Surface
- Once cured, remove the resin piece from the mold.
- Sand any sharp edges with fine-grit sandpaper.
- Polish with resin polish or clear nail polish for extra shine.
💡 Pro Tip: For jewelry, drill small holes and attach jump rings for a complete look.
By following this method, you’ll learn how to preserve flowers in resin like a professional — clear, bubble-free, and stunningly beautiful.
⚠️ Common Mistakes to Avoid
Even with the best materials, a few common mistakes can ruin your resin project. Avoid these to keep your flowers in resin looking flawless and professional:
❌ Using Fresh Flowers
- Fresh flowers contain moisture, which leads to rot, cloudiness, and bubbles.
- Always use dried flowers in resin that are fully moisture-free.
❌ Improper Resin Mixing
- Incorrect ratios or under-mixing will cause sticky or soft resin that never cures.
- Stir slowly and evenly for the full recommended time to avoid bubbles.
❌ Overheating While Removing Bubbles
- A heat gun or torch is great — but overuse can scorch the resin or flowers.
- Use short, sweeping passes to avoid burning or discoloration.
❌ Not Using Protective Gear
- Resin fumes can irritate skin and lungs.
- Always wear gloves, work in a ventilated area, and consider a respirator mask for safety.
✅ Quick Safety & Quality Checklist:
- 🔲 Flowers are fully dried
- 🔲 Resin is measured and mixed correctly
- 🔲 Heat applied gently and briefly
- 🔲 Gloves and apron used
- 🔲 Workspace is dust-free and ventilated
Avoiding these mistakes helps ensure a smooth, clear finish every time you’re casting flowers in resin.
🎨 Creative Project Ideas with Resin-Preserved Flowers
Once you’ve mastered preserving flowers in resin, the possibilities for creative projects are endless. Here are some of the most popular and beautiful ideas to try:
💎 1. Jewelry (Necklaces, Earrings, Rings)
Embed pressed or tiny dried flowers in resin to create one-of-a-kind accessories. Use UV resin and small molds for a polished, wearable finish.
Use circular or square silicone molds to create custom coasters. Combine resin pigments with flowers for elegant table décor.
🖋️ 3. Paperweights
Perfect for larger blooms. Great as personalized gifts or office decorations. Add glitter or initials for an extra touch.
🔑 4. Keychains
Small molds make it easy to create floral keychains. Add beads, charms, or initials to customize them.
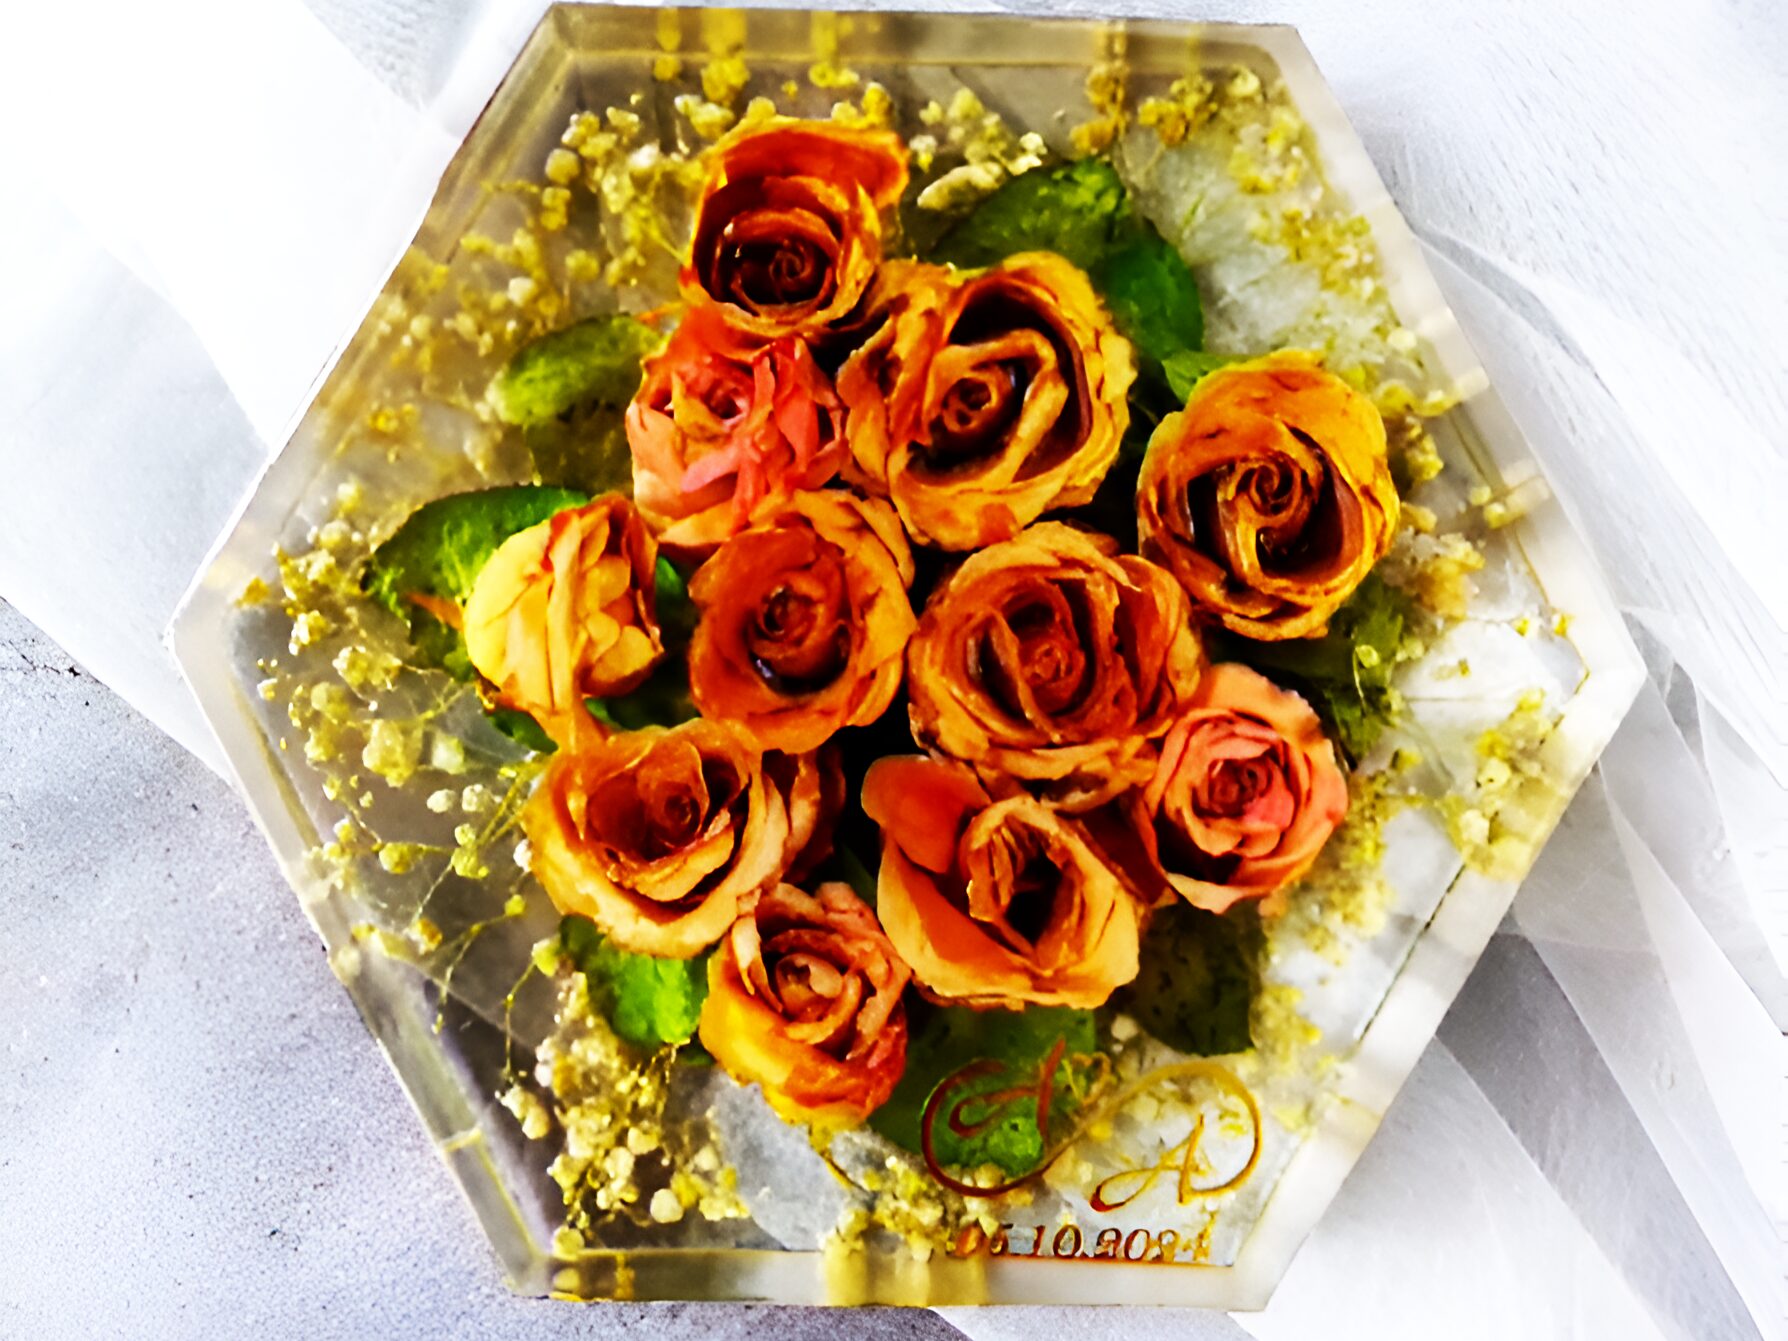
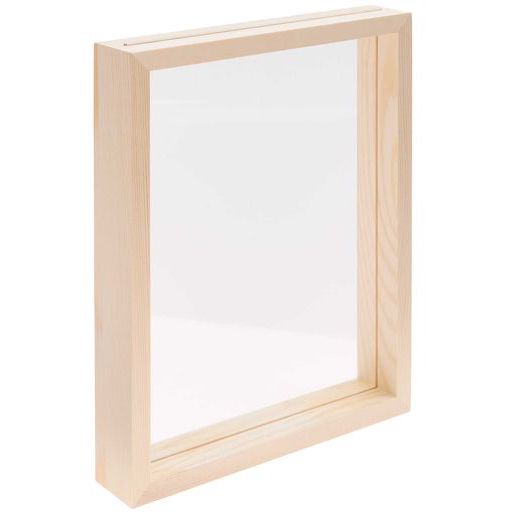
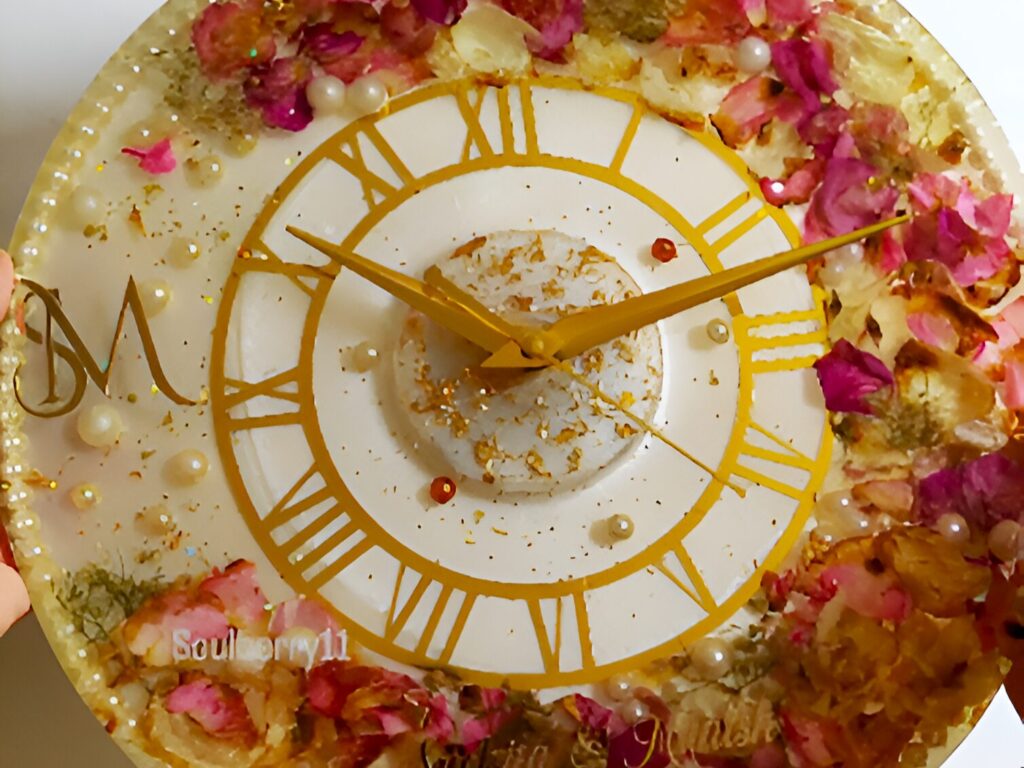
🖼️ 5. Wall Art
Arrange multiple flowers in resin within a large mold or frame. Great for wedding bouquets or seasonal décor.
📚 6. Bookmarks
Use pressed flowers in long, flat molds to create transparent floral bookmarks. Add tassels or gold flakes for elegance.
These DIY projects not only preserve your favorite flowers but also allow you to express your creativity in truly unique ways.