
 Arpit
Arpit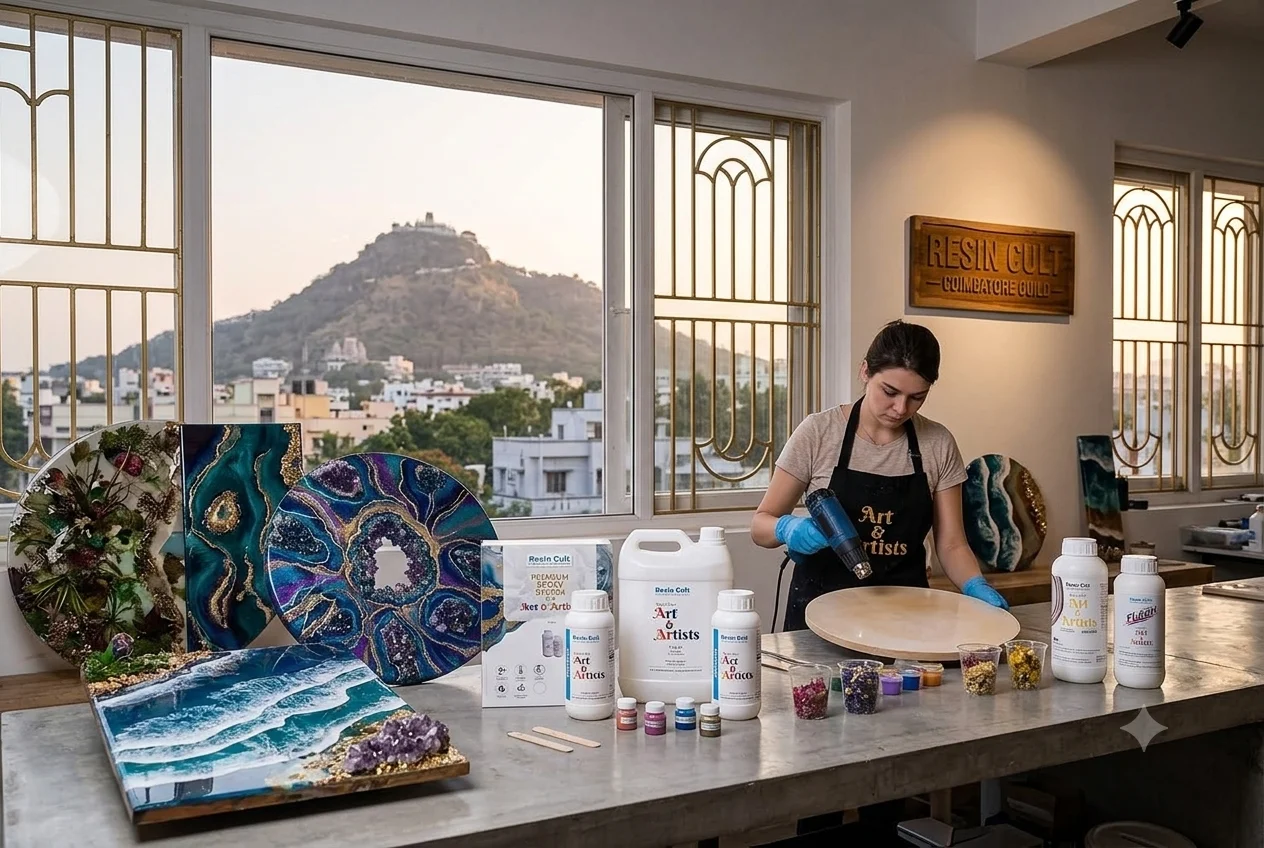
Resin art in coimbatore has evolved from a trending design pastime into a serious creative powerhouse. Local makers, boutique fluid artists, and woodworking studios across the city are actively expanding the limits of what liquid polymers can accomplish. From encapsulating intricate botanical preservation pieces to engineering high-gloss, ultra-flat geode wall layouts and poured timber accent tables, achieving a flawless glass-like finish relies completely on syncing your ambient studio environment with proper chemical physics.
For anyone working with epoxy resin in coimbatore, the foundational key to long-term project survival is distinguishing premium, art-grade polymers from low-cost industrial adhesives. While generic commercial structural glues are easily found in local markets, they lack critical light stabilizers and bubble-releasing agents. True artistic success demands premium, optical-grade formulations designed specifically to counter common casting errors, minimize micro-bubbles, and eliminate yellowing or shrinkage over time.
Overcoming Regional Physics: The Coimbatore Microclimate Challenge
Working with high-performance epoxy resin coimbatore formulas means managing local atmospheric changes. Because Coimbatore sits near the Palghat Gap, the region experiences unique weather patterns that directly affect how liquid resins cross-link, cure, and harden.
1. The Monsoon Humidity Spike
During seasonal monsoon transitions, relative humidity levels across Coimbatore can quickly rise above 75%. Because liquid amine hardeners are naturally hygroscopic (meaning they eagerly absorb moisture from the surrounding air), high humidity can cause a major chemical malfunction. The trapped moisture reacts with the hardener to create a hazy, dull finish or an oily surface film known as “amine blush.” To achieve a crystal-clear cure, keep your workspace climate-controlled or run a dedicated studio dehumidifier whenever indoor relative humidity crosses 60%.
2. Afternoon Heat Excursions
Coimbatore’s generally balanced, pleasant climate provides a great foundation for casting, but seasonal afternoon temperature spikes can unexpectedly speed up your open working time. When temperatures rise, the chemical cross-linking reaction accelerates dramatically. A formula that typically offers a relaxed 45-minute working window at 25°C can gel in half that time if mixed in a warm room. To prevent premature gelling, consider mixing smaller individual batches during afternoon peaks.
3. Industrial Particulate Management
As a bustling manufacturing and textile hub, Coimbatore’s ambient air naturally contains fine airborne fibers and dust particles. If these settle onto a fresh, sticky pour, they can easily ruin an otherwise perfect surface layer. Always cover your curing projects with a clean, inverted plastic container or an insulated drop-box for the first 12 to 24 hours of the curing cycle.
Fluid Dynamics: Matching Viscosity Profiles to Your Design Layout
A common beginner mistake is treating all epoxy systems as identical liquids. In reality, working with the wrong chemical viscosity leads to trapped micro-bubbles, bleeding colors, or ruined silicone molds. Your chosen fluid dynamic profile must match your exact project depth and design goals.
High-Viscosity Applications: Crisp Geodes and Dynamic Cells
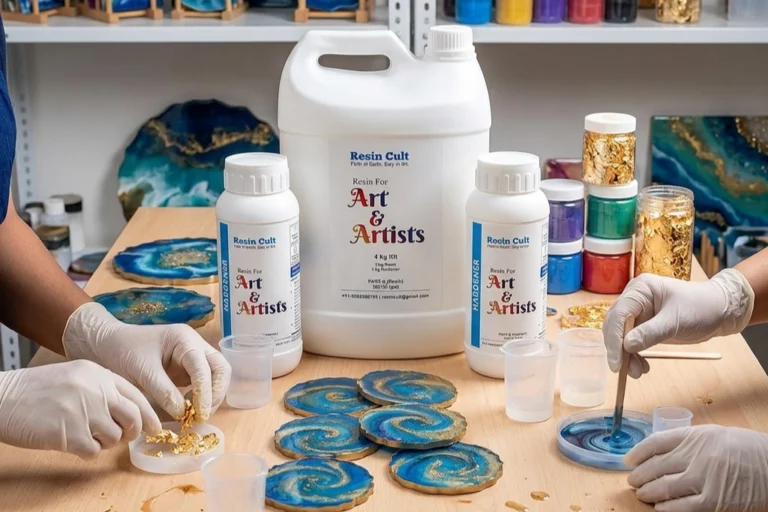
When building multi-layered geode art or pouring beach-inspired ocean lacing, you need a thick, high-viscosity fluid that holds your lines in place. A thin liquid will bleed your rich metallic pigments and alcohol inks together, turning a balanced design into a muddy, grey mess.
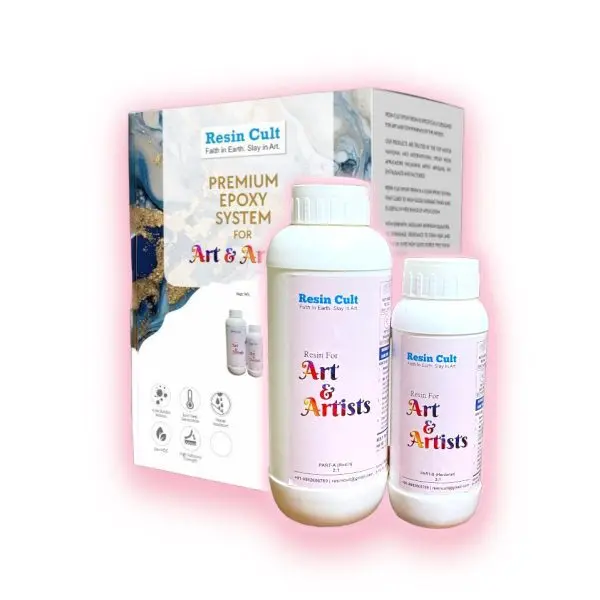
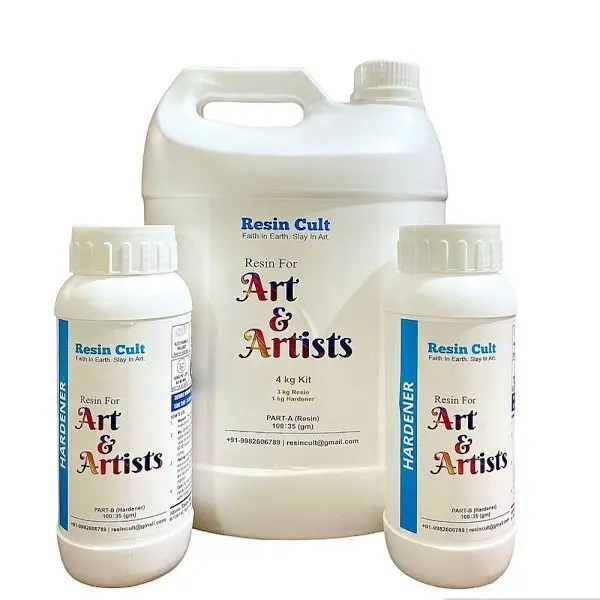
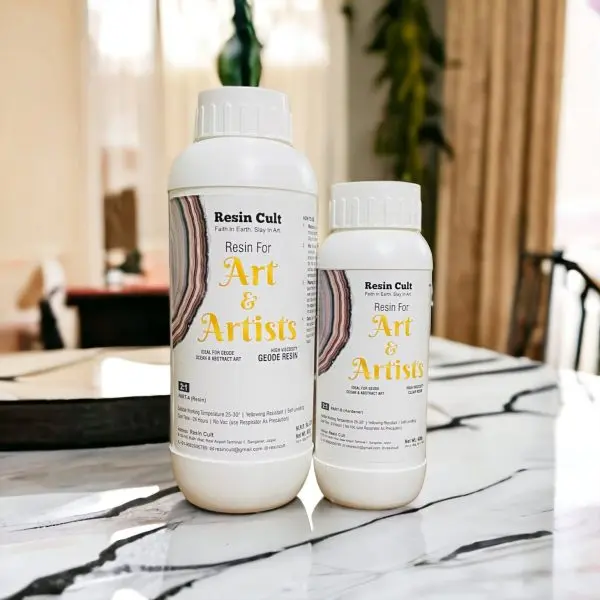
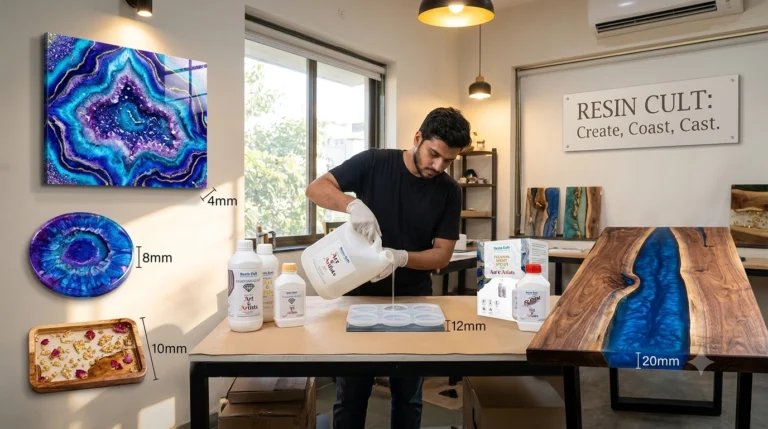
- The Strategic Formula: Geode Resin 2:1 (3 mm max depth) or Artist Resin 2:1 (5 mm maximum layer thickness, 45-minute working time) by ResinCult. These premium systems offer immediate structural holding power to keep sharp pigment boundaries exactly where you draw them.
Medium-Viscosity Castings: Daily Homeware and Coaster Production
Crafting custom serving trays, thick drink coasters, or detailed jewelry requires a balanced formula that maintains excellent surface tension while allowing air pockets to escape.
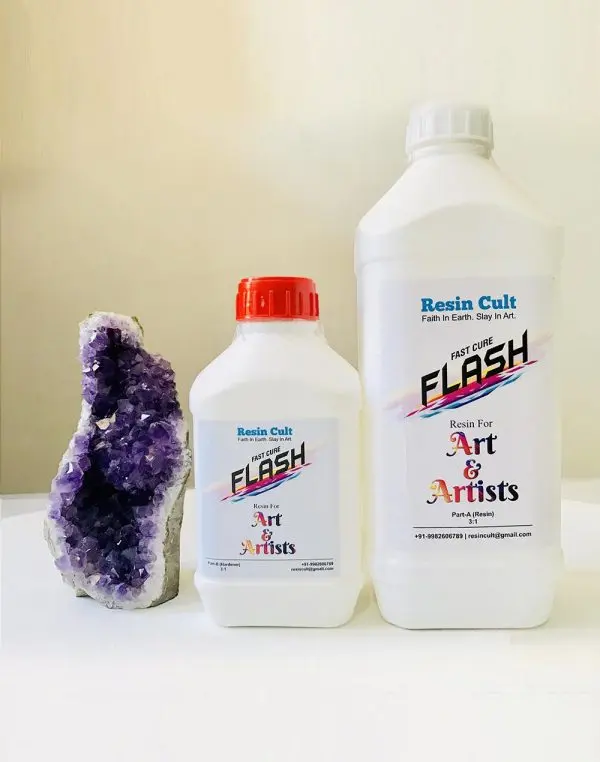
- The Strategic Formula: Flash Resin 3:1 (7 mm depth, engineered for fast curing cycles) or Artist Resin 3:1 (10 mm depth, extended 90-minute working window) by ResinCult. These mixtures allow ample time to sweep away rising air pockets with a heat gun before the liquid sets.
Low-Viscosity Systems: Deep Rivers and Floral Preservation
Encapsulating bridal bouquets or pouring deep, thick voids in wood-slab river furniture requires a thin, water-like viscosity. Pouring a standard coating resin into a deep mold creates a runaway exothermic reaction, causing the material to smoke, turn amber, and crack. Deep-casting requires a slow-curing formula that releases heat gently over a long period.
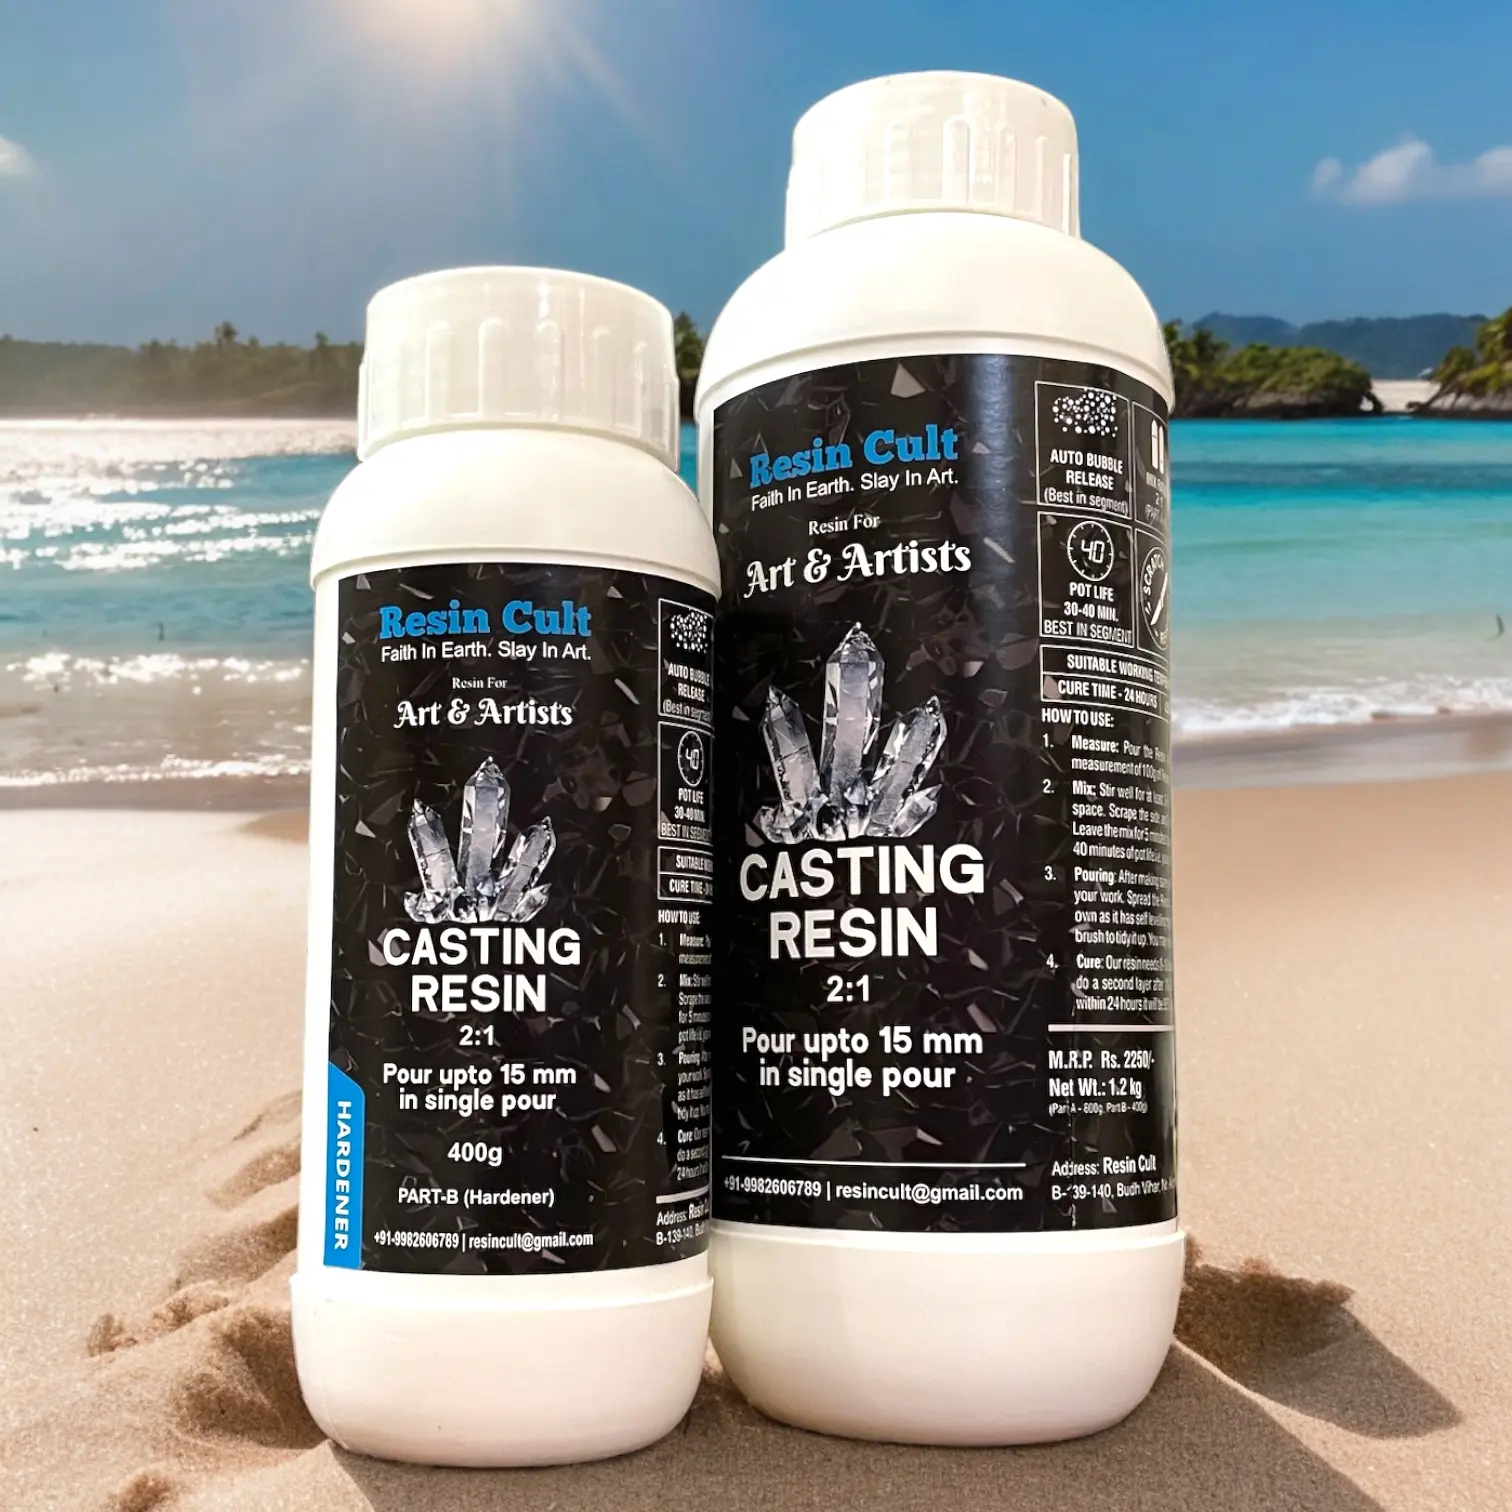
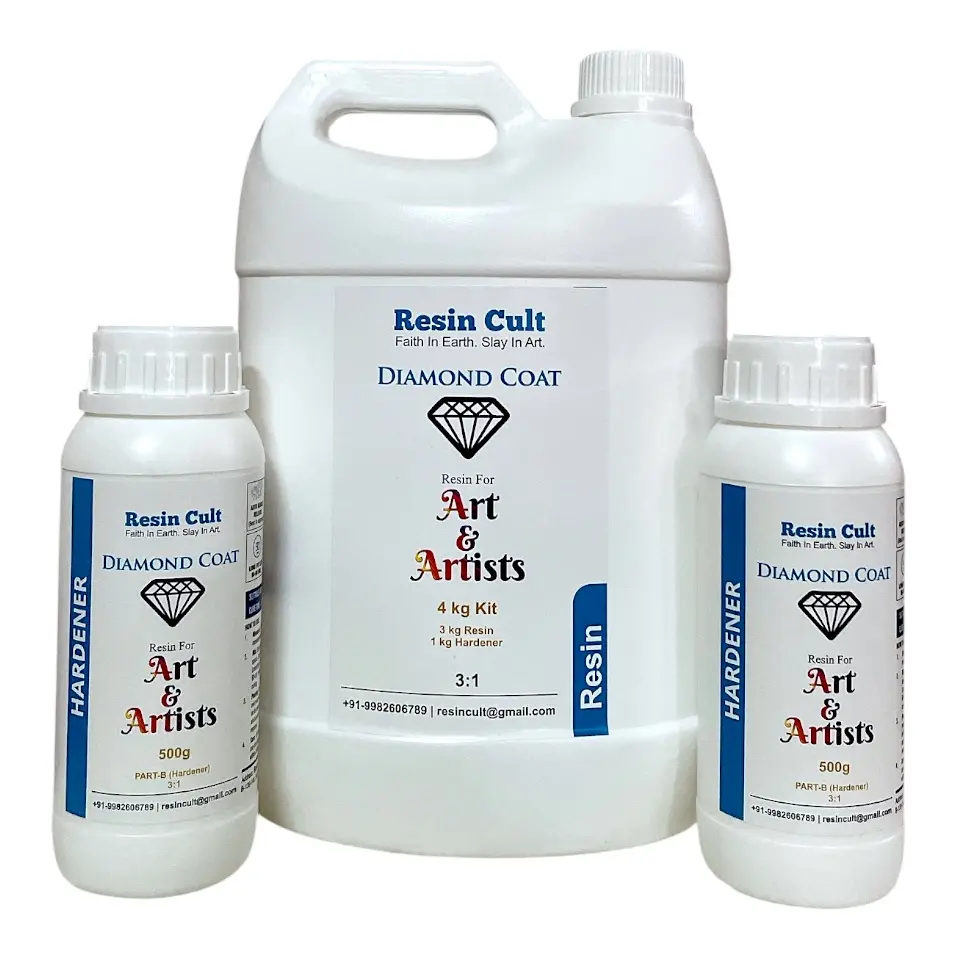
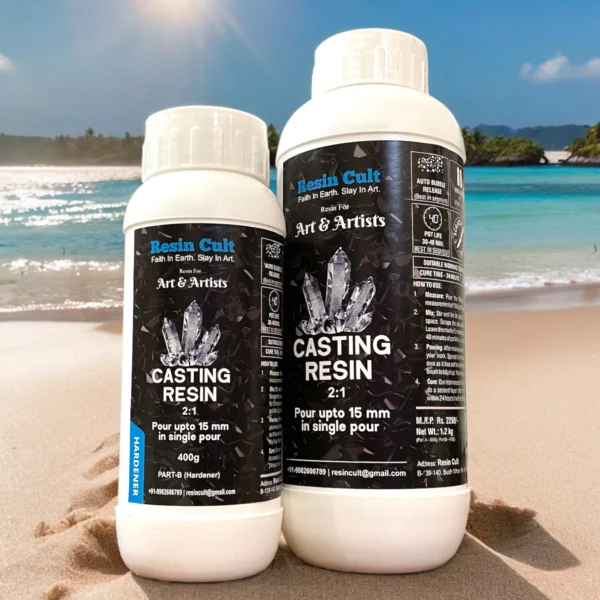
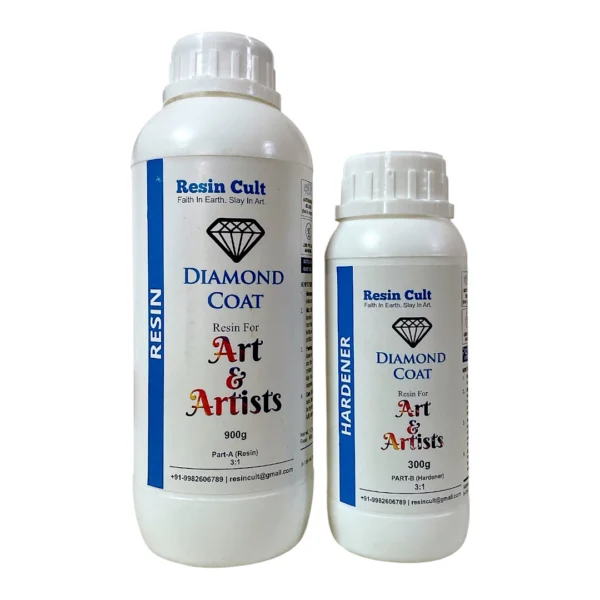
- The Strategic Formula: Crystal Casting 2:1 (16 mm depth limit) or Diamond Resin 3:1 (Up to 20 mm single-pour thickness) by ResinCult. These formulas allow massive, thick layers to cure smoothly over 24 to 48 hours into a scratch-resistant, archival finish.
Critical Mixing Mistakes: The Anatomy of a Curing Failure
Achieving a flawless, glass-like sheen requires strict adherence to proper technique. Avoid these classic studio pitfalls to protect your project and get the most out of your materials:
- The “Eyeballing” Disaster: Epoxy relies on an exact molecular cross-link. Altering the component ratio to try and speed up the cure will do the opposite, leaving your piece permanently sticky, soft, or tacky. Always use a digital scale for weight-based formulas or square, straight-sided cups for volume-based ratios.
- The Single-Cup Inhomogeneity Trap: Simply stirring your parts in a single cup leaves unmixed chemicals clinging to the walls and bottom. Use the professional two-cup method: stir thoroughly for three minutes, pour the entire contents into a clean secondary cup, and mix for one additional minute to guarantee a uniform, consistent cure.
- Aggressive Direct Staining: Adding water-based acrylic paints or wet dyes will disrupt the polymer matrix, causing sticky pockets or micro-tears. Keep your total pigment volume under 5% of the total mixture, and always use dedicated dry mica powders, resin pastes, or alcohol inks.
Quick FAQs Section
Why does my resin art layer still feel rubbery or bendable after 48 hours?
A soft or rubbery cure points to minor measurement mistakes, incomplete mixing, or a sudden temperature drop in your workspace overnight. To prevent this, use high-quality formulas like those from ResinCult, mix thoroughly using the two-cup method, and ensure your curing space stays at a consistent temperature of around 24°C to 25°C.
Is it safe to cast fresh, locally sourced flowers directly into clear casting epoxy?
No. Fresh organic matter contains internal moisture that reacts poorly with curing polymers, turning your vegetation brown, black, or moldy inside the block. Always dry your flowers completely by burying them in fine silica gel crystals for 7 to 14 days before encapsulating them in clear casting systems like Crystal Casting 2:1.
How do I eliminate stubborn micro-bubbles without damaging my silicone molds?
Keep your heat source moving constantly. Swiftly sweep a propane torch or a high-powered heat gun roughly three inches above the liquid surface immediately after pouring. The localized heat lowers the surface tension, allowing air pockets to pop instantly. Never hold the heat source over one area, as this will scorch the chemical surface or melt the mold itself.




Leave a reply